Drag and Drop Page Builder Overview
 The SDF Drag and Drop Page Builder
The SDF Page Builder allows you to create stunning designs without the need for HTML, CSS or coding. Within minutes you can create complex designs with ease by using rows, hero units and modules to style your content. Watch the video below for a brief tutorial or scroll down for additional documentation on how the SEO Design Framework Page Builder works.
Overview
You can either use the default WordPress WYSIWYG TinyMce editor for pages and posts inside the framework or use the SDF Page Builder to quickly style your content with or without CSS or additional HTML markup.
Structurally, the SDF Builder is comprised of either rows, hero unit / sections and modules. For reference, modules are the blocks that are nested inside either Hero Units or Rows. Each module is draggable to other rows and will resize based on the size of the container of the page (full width or boxed) as well as the device that it’s being displayed in (desktop monitor, laptop, tablet or mobile device). While the functionality is similar between Hero Units and Rows, Hero units provide additional options such as adding background video, images, height options, margins, etc.
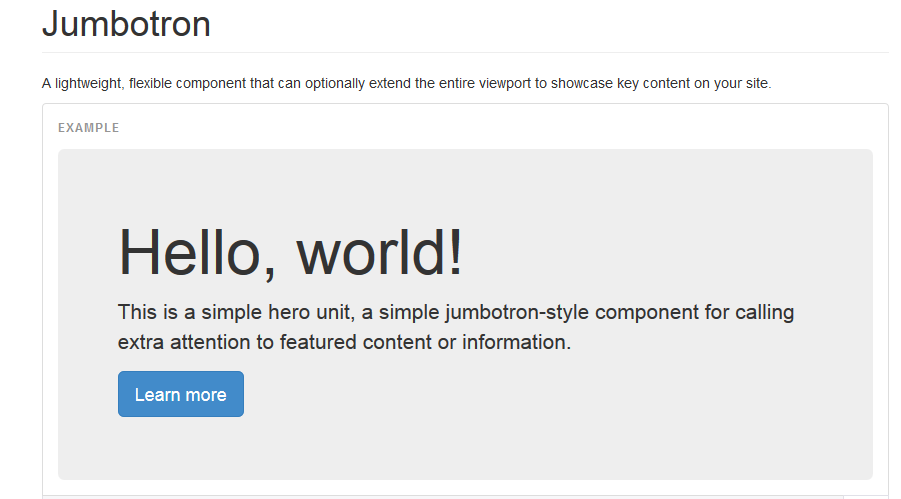
Hero Unit Definition: Taken from Twitter Bootstrap Framework (which is integrated into the SEO Design Framework)
SDF Page Builder: Getting Started
To get started, click the SDF builder button  and Add a Row or add a Hero Section.
Both Rows and Hero Units have the ability to be styled into columns by inputting or choosing a fractional layout of the row's width. Once columns are created, you can style each section independently with modules or drag them to other rows or hero units.
As an example, you can use anywhere from 1 up to 6 columns per row inside the column's layout. The preselected layouts range from 1/1 which is full width to 1/6 1/6/ 1/6/ 1/6/ 1/6/ 1/6 (six individual columns in a row), 1/2 (which splits the layout into two equal half sections), 1/3 1/3 1/3 (which creates 3 columns), etc.
We've also included preselected fractional derivatives (e.g. 1/3 2/3 ) that you can quickly choose from or in the event that you cannot find the preferred dimensions, you can input your own custom layout options for that row or hero section by clicking the Custom Layout option on the right portion of the hero or row's fractions.
You can also rearrange hero units or rows vertically by clicking and dragging the directional icon to vertically change the stack order which is which order they appear on the page (from top to bottom).
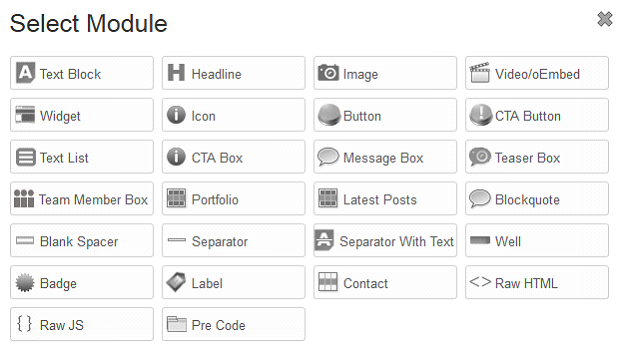
After you've added hero or row and segmented the columns, then its time to add modules and style your preferred media in that hero section / row.
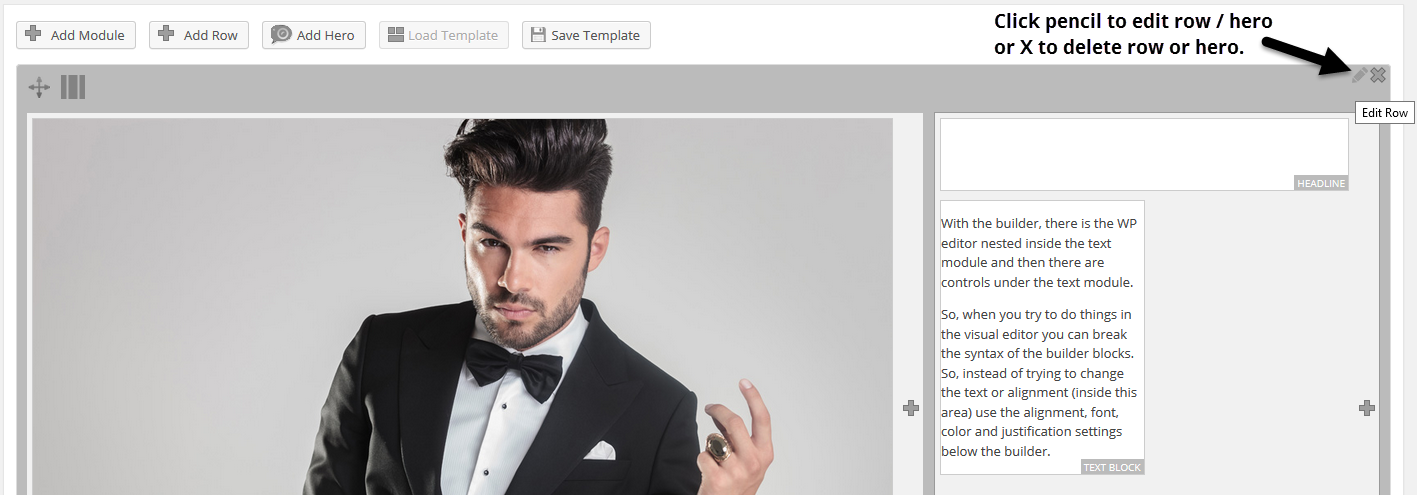
For additional options, you can click the pencil icon in the top right of the row or hero section to reveal additional options to customize that section.
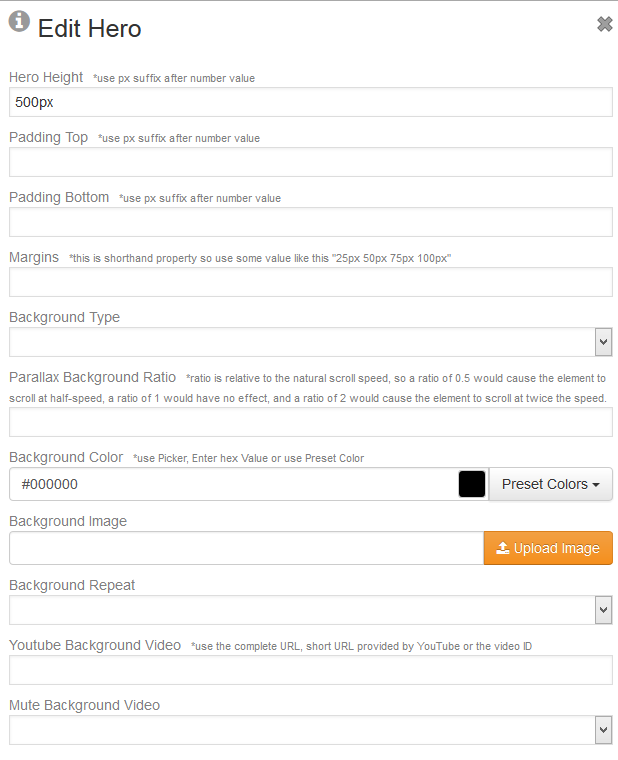
For example, these are just a few of the Hero options available once I click the pencil icon.
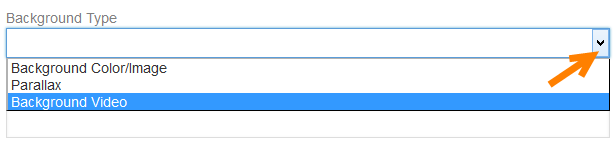
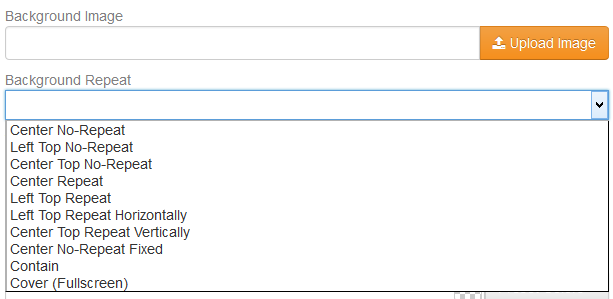
When entering numbers for dimensions into the Hero or Row background options, please ensure the to px suffix after numbers is complete, e.g. 200px instead of just 200. Also, if you intend on using a background image or background video, you will also need to choose from the background repeat dropdown options to choose display options to ensure your changes are reflected on the frontend (when you save and refresh the page).
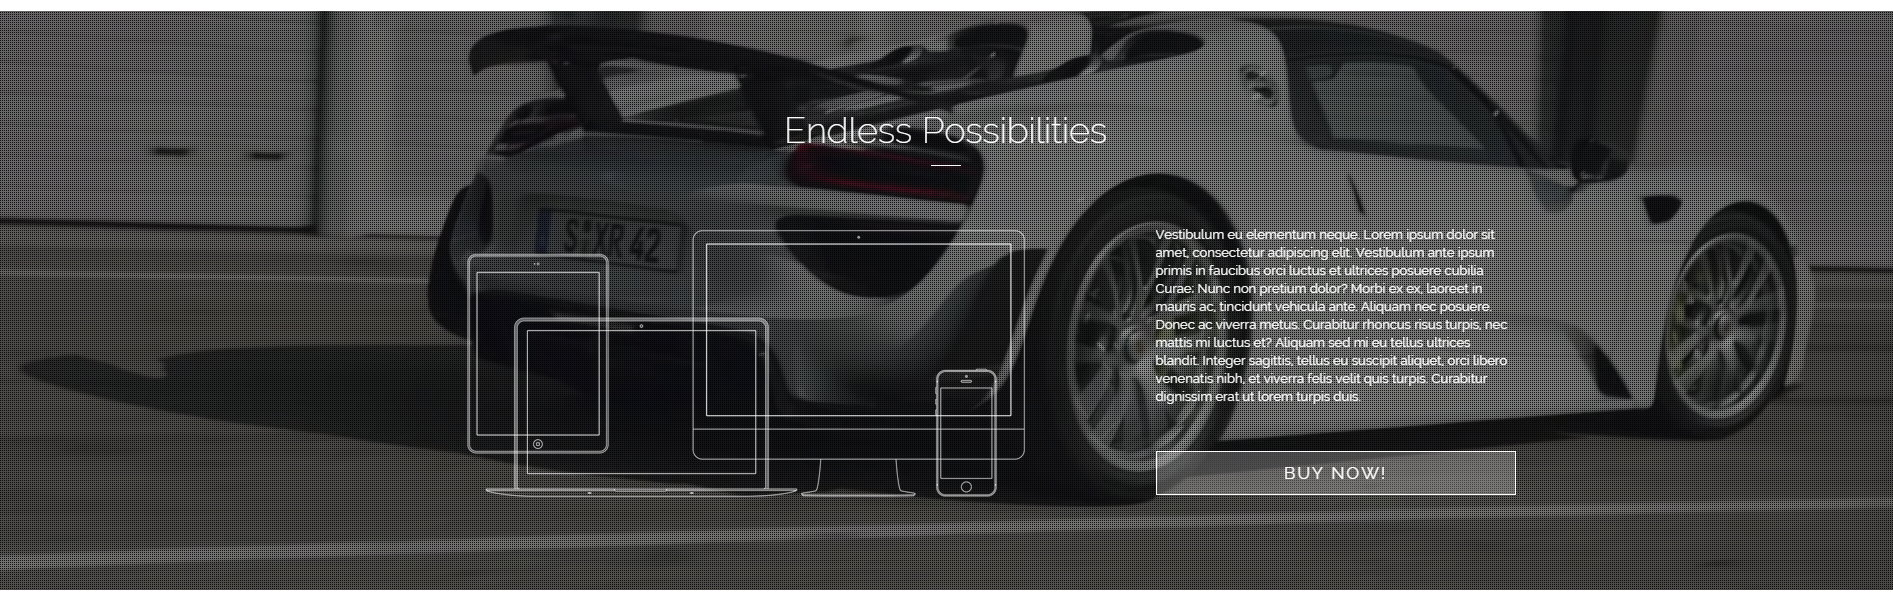
If you choose to use the Hero background option, you still have additional styling options inside the hero (like a layer) after you update changes. For example, if I used the background video in the Hero options, I could still add additional columns, buttons, text or other modules which would appear in front of the background video or image.
See the example below where the background video feature is utilized in a Hero that also contains a 1/2 | 1/2 column layout for the image, text and call to action button's builder modules respectively.
SDF Builder Syntax
Be aware of SDF Builder Syntax. To make sure the SDF builder does not break, be mindful of mixing regular HTML or code inside a block (see section below on what to do if the builder breaks). There is a raw HTML or Raw JS module for javscript or raw HTML, but, most people try to extend the text module beyond its means in the builder environment.
We suggest that you use the builder exclusively to create and style content on a page or the WordPress content editor (not to mix both). While we are refining the builder, we have noticed that conflicts can arise in certain circumstances. To prevent issues, here are some things to consider (covering how the builder works) from our development team.
Modifying SDF Builder Content Directly within the Wordpress Content Editor:
SDF Builder converts layout created using it to a shortcode markup and renders it into Wordpress content editor. Also, it recreates it's layout from shortcodes in Wordpress editor when switched back. That way, when the page is saved and later loaded, SDF Builder's layout will be recreated from these shortcodes.
Theoretically, Builder content can be edited within Wordpress editor directly, but care should be taken, otherwise your code can easily break. Any HTML added inside editor needs to be enclosed within appropriate inputs inside a Builder modules, using exactly same syntax as if Builder had created it. Builder's hierarchy is: first row, then column, then module, than its inputs. Nothing can be inserted between those layers, and their hierarchy can't be changed.
Even though Builder's syntax is based on HTML / XML syntax in the way how elements are nested, they can't be freely combined. For example, you can't enclose SDF Button module into HTML <div> element, as if it was HTML <button> element.
To avoid breaking the builder, once you've started using the SDF Page Builder on a page or post, it is safer to make all changes on that page using the builder only, rather than trying to mix normal WP content and builder content.
If, however, you chose to do it, please bear in mind that SDF Builder parser relies on strict syntax and that the code can easily break with even smallest nesting or syntax error. If some Builder module lacks an attribute you find useful, feel free to contact us and we can add it to a future release (in the event that there is not already an existing alternative in place inside the framework).
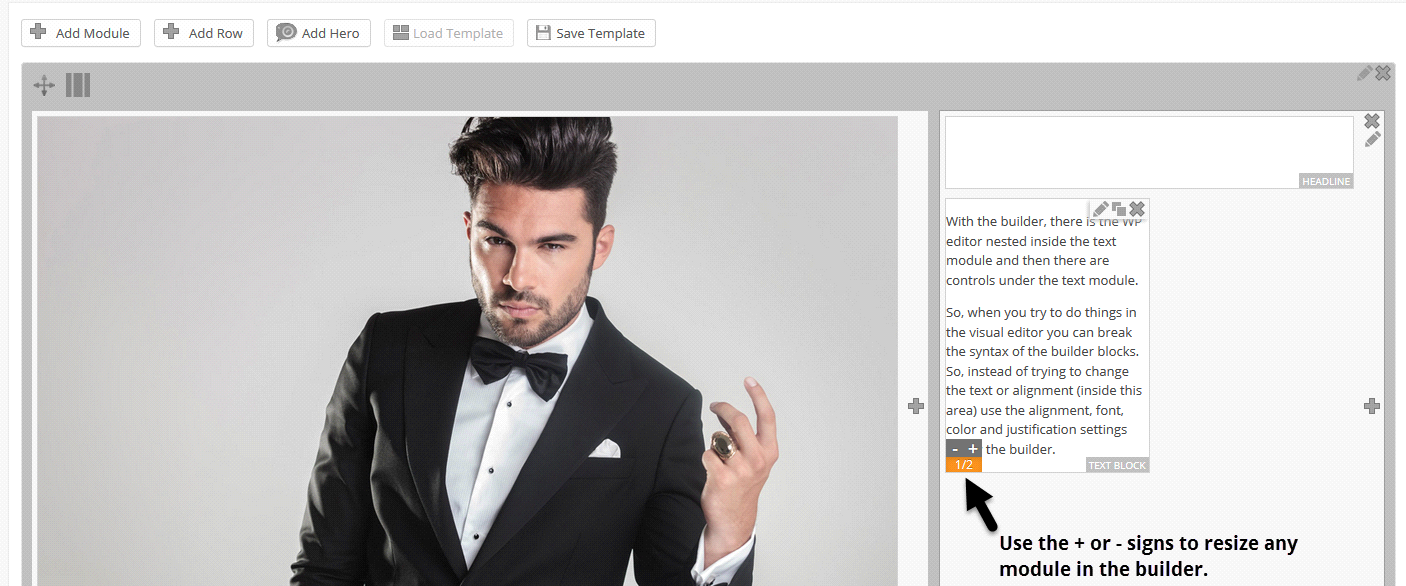
For example, say I wanted to add and style text inside the SDF Page Builder the same way I would in WordPress editor. Since the WP Editor is nested inside the text module it seems second nature to do so.
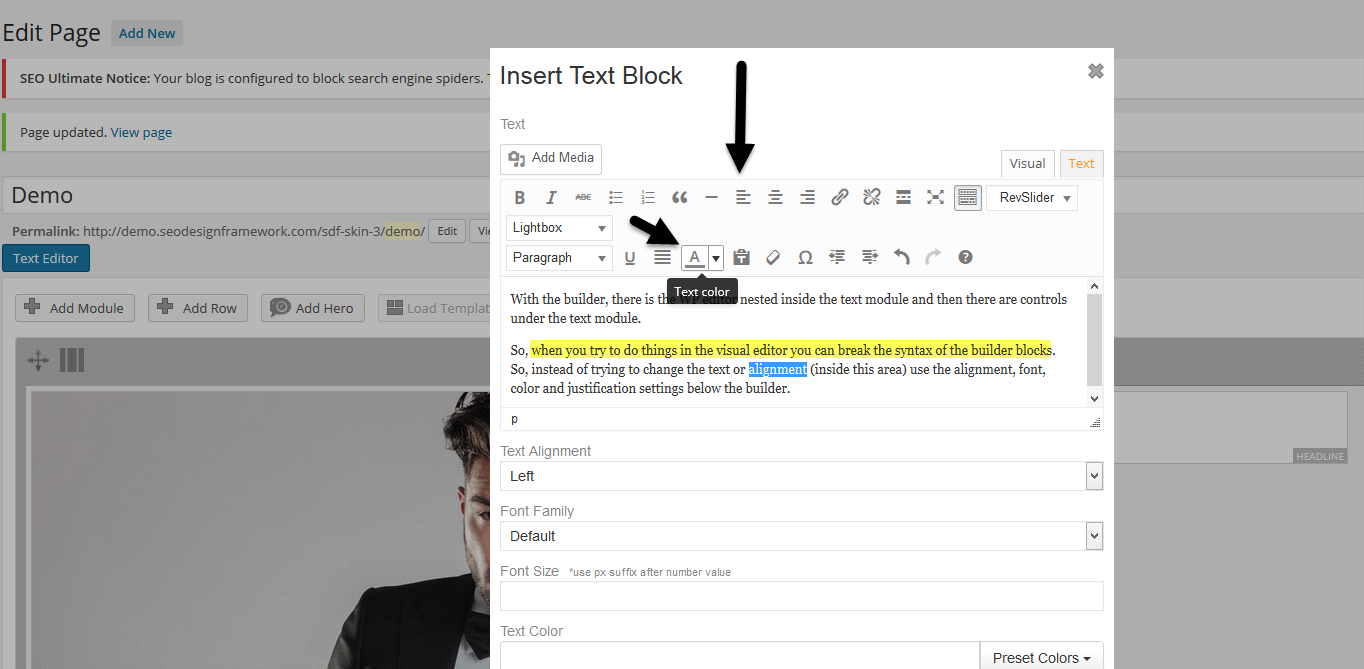
However, here are the things you should be aware of. Most incidents or collisions (i.e. SDF builder breaking) occur if you try to use both the WP editor and the SDF Builder for the same thing. So, when you try to do things in the visual editor of the text module this can add span tags inside the code and break the SDF builder syntax and result in the errors (as it breaks the shortcodes the builder uses to style the modules / blocks).
This would be considered the WRONG way to use the text module in the SDF Builder. So, instead of trying to change the text or alignment inside the visual editor (like in the image below) there are additional settings for text alignment, font, color and justification settings below the builder with inputs (scroll down to see next image).
Please appropriate controls under the text module to ensure the code renders properly without issues. This is considered the RIGHT way to use the Text Module inside the SDF Builder.
Another consideration is to use the image module to add images (as images added in the visual editor add HTML markup and are not responsive), use the video module to add videos, Headline Module to add headlines vs. trying to add them all through the text module if you use the SDF Page Builder.
How to Resize Modules for Custom Layouts
To resize modules, we've added a + and - option on the left side of each module. To use it, simply hover over the left side of a module and use the plus or minus signs to shrink or resize a section. While you can make a module smaller, you cannot scale it past its original size. Each module can be scaled down to 1/12 of the original size. Anything inside the module also becomes responsive (the image will resize in desktop monitors, laptops, tablets or mobile devices).
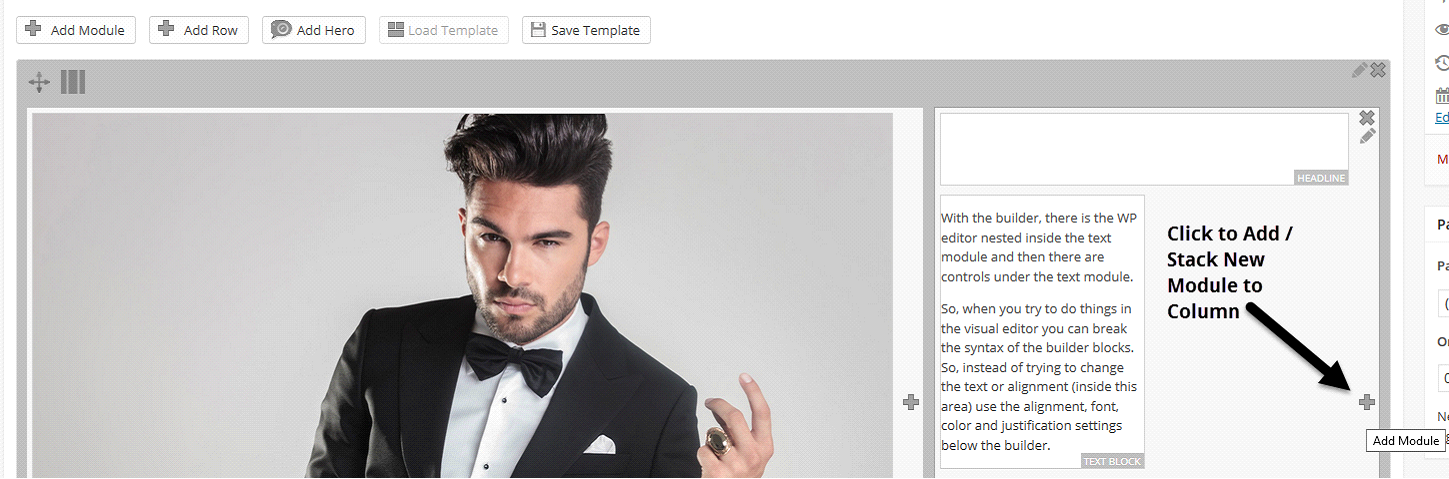
You can also use the + sign on the right side of the column or row to add / stack additional modules inside any active row inside a column.
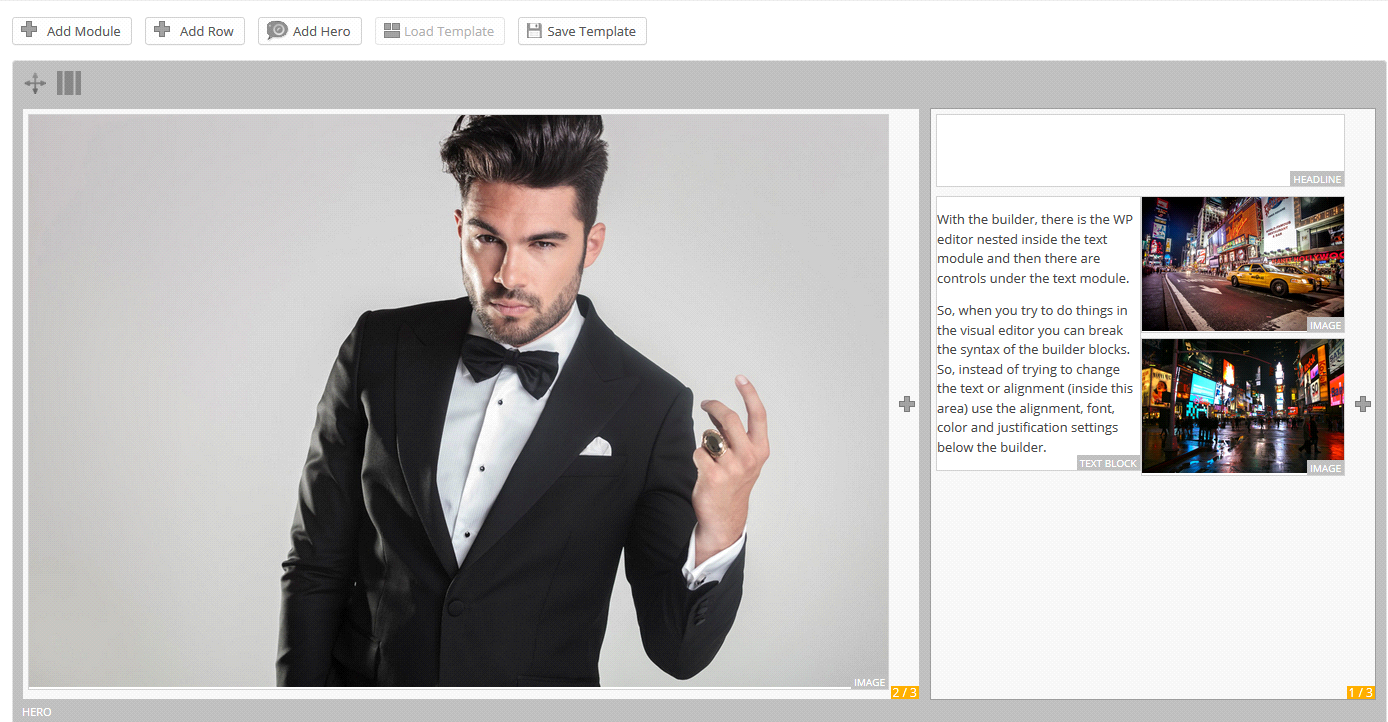
Once you add new modules to a block, you can resize the module to fit in the same row inside the columns. For example, the hero section is divided into a 2/3 | 1/3 layout and on the 1/3 side, I have used a text module and reduced it to ½ of the 1/3 area, then I added two additional image modules and reduced them to ½ to stack on the right side of the 1/3 area of the hero section. You can build endless layouts using this functionality.
Using this method you can create dynamic layouts with headlines, buttons, teaser boxes, spacers, line dividers, icons, video, text and other modules and then rearrange them at will (from simply dragging and dropping them to other rows or hero units) or using the + or – signs on the left side of each module to create unique layout variations.
What Happens if the Builder Breaks?
In reference to syntax and the builder shortcodes breaking, there is a solution. Often this happens from a nesting issue. Most instances it’s the visual tab of the text module or code copied in from MS Word that could insert span tags in the markup.
However if this does occur (if the layout get scrambled or you see a section looping), you can always roll your page or post back to a previous revision to either start fresh or try another alternative for styling the content.
One way to prevent builder issues it to use the builder exclusively for the media or opt for using the native WP content editor.
How to Roll Back Page or Post Revisions if the Builder Breaks
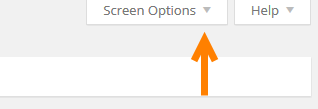
If something breaks and you need to roll back your design, you can click the "Screen Options" tab located on the top right portion of pages and posts > then click the revisions option under Show on Screen.
Click Screen Options to open > then click revisions on the top left >
Next, scroll to the bottom of the page and look for the time stamp under "revisions". Then choose a previous revision and roll back your design.
Choose revision, update, then save changes.
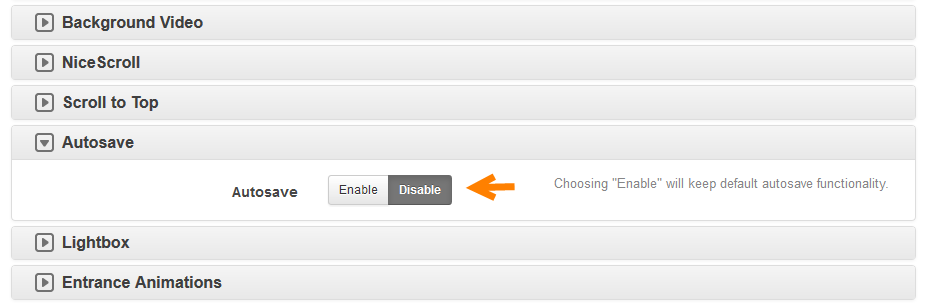
We've found that having multiple windows open editing the same page may engage the Autosave feature in WordPress to take a snapshot of the page and break the syntax. The quickest way to tell is if you see an "Autosave" version under "revisions" above.
If this happens you can simply 1) roll back to the version just prior to the Autosave. If you want to disable this feature entirely, proceed to SEO Design > Global Settings > Autosave > then click Disable Autosave> to disable Autosave functionality and save changes.
What About Adding Shortcodes from Other Plugins?
To add shortcodes from other plugins, you can either:
1) Use the text module's (text tab) option and insert the shortcode and save changes.
2) Use a custom widget under appearance > widgets> and then add that widget anywhere on pages of posts using the SDF Builder's > Widget Module.
3) Use the SDF Shortcode generator where you can paste HTML or scripts and then it makes its own SDF shortcode which you can use inside the builder (text or raw HTML areas) or in the native WP editor.
The SDF Builder Load Template / Save Template Feature
When you click the SDF builder, you may also notice the the load and save templates buttons. These two options allow you to either save a layout (including all active media/modules on the page when you click save) or load an SDF Builder layout/template that has been previously saved.
*We plan to release enhanced page template functionality shortly by providing a variety of popular layouts and landing pages with placeholders to expedite landing page creation. In the meantime, feel free to save and / or load your own designs in the SDF builder using the load or save templates buttons.